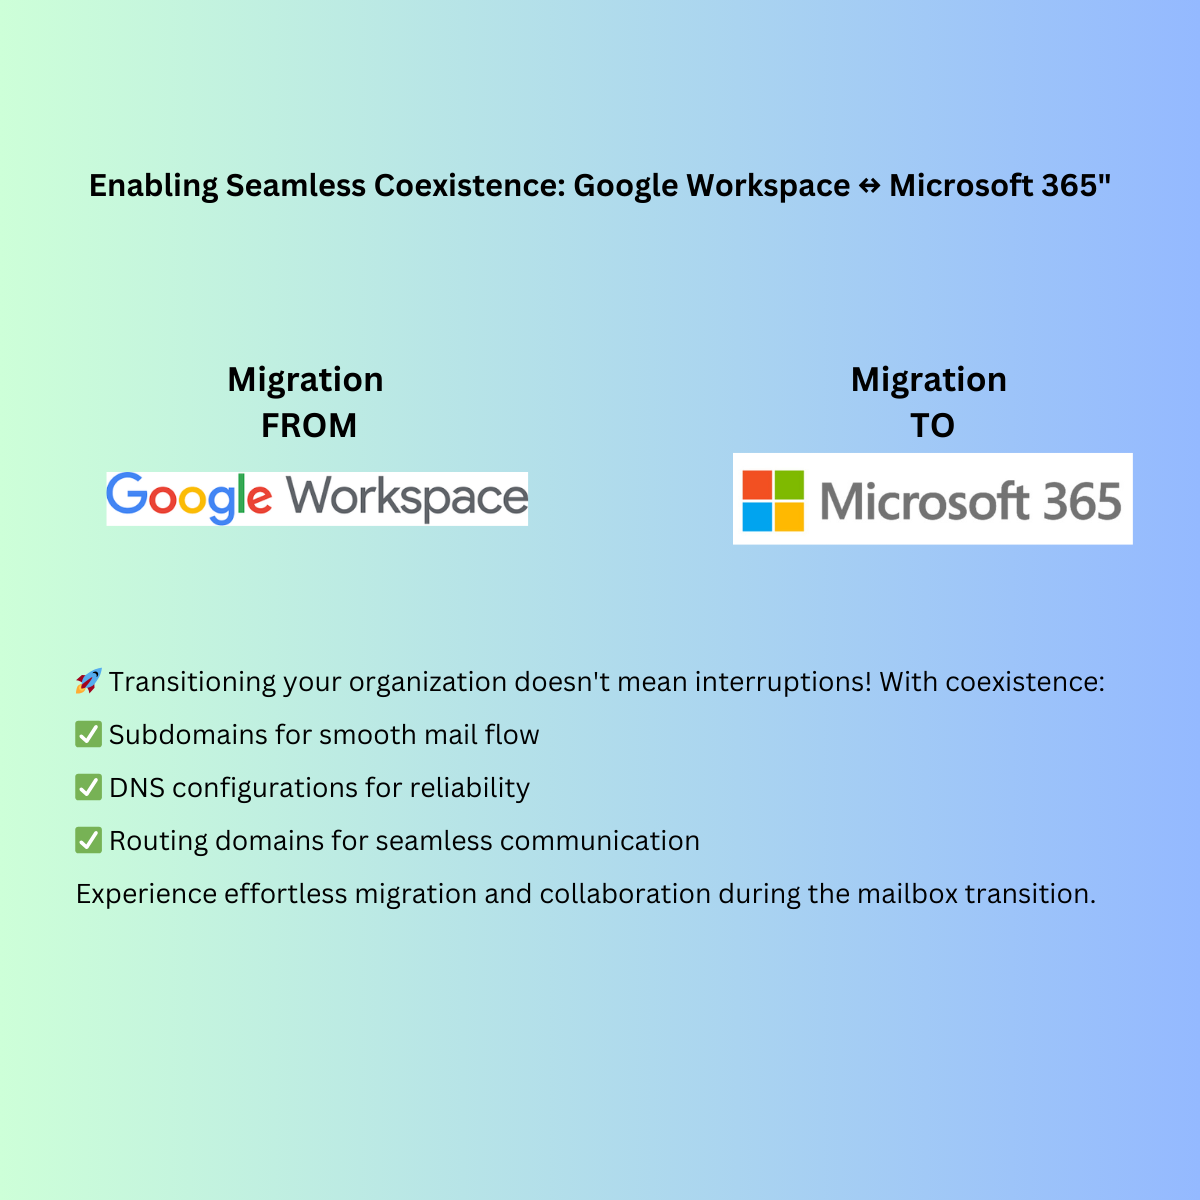
Overview
This document outlines the detailed steps for enabling coexistence during the migration of mailboxes from Google Workspace (GWS) to Microsoft 365 (M365). The coexistence setup ensures seamless mail flow and functionality across both platforms during the migration process.
Steps on M365 Admin Center
- Add and Verify Primary Domain
- Add the domain contoso.com in M365 Admin Center.
- Verify the domain ownership using the provided TXT record.
- Update DNS settings to include:
- SPF record to prevent spoofing.
- DKIM record to support email authentication.
- Autodiscover record for mailbox configuration.
- Create Subdomain in GWS
- Create a subdomain m365.contoso.com in Google Workspace.
- Navigate to the GWS Admin Console.
- Select User Alias Domain as the domain type.
- Add and Verify Subdomain in M365
- Add m365.contoso.com as a subdomain in the M365 Admin Center.
- Verify the ownership of the subdomain.
- Repeat the process to add contoso.com and any other required domains.
- Create Another Subdomain in GWS
- Create a subdomain gws.contoso.com in GWS for routing email to users not yet migrated.
- Use this subdomain as the external email address domain for migrated users.
- Create Mail Users in M365
- In the Exchange Admin Center:
- Create Mail Users.
- Assign the external email address as user@gws.contoso.com.
- Add a secondary email address user@m365.contoso.com.
Steps on Google Workspace (GWS)
- Enable Permissions for GWS Admin Account
- Assign the following roles to the GWS Admin Account:
- Project Creator
- Create Service Accounts
- Enable necessary APIs:
- Gmail API
- Google Calendar API
- Contact API
- People API
Steps to Enable APIs:
- Log in to Google Cloud Console.
- Create a new project:
- Name the project.
- Under Organization, select the primary domain.
- Leave the location as default.
- Assign permissions to the GWS Admin Account:
- Go to Permissions and click Add Principal.
- Add the GWS Admin Account.
- Assign roles: Project Creator and Create Service Accounts.
- Enable APIs:
- Navigate to APIs and Services → Library.
- Search and enable the required APIs.
Steps on M365 Exchange Admin Center
- Enable External Forwarding
- In the Security Portal:
- Navigate to Policies & Rules → Threat Policies → Anti-Spam Policies.
- Edit the default outbound anti-spam policy.
- Enable Forwarding Rules temporarily until migration completion.
- Increase Mail Size and Receive Limit
Run the following commands in PowerShell to update limits:
Get-TransportConfig | fl maxreceivesize,maxsendsize
Get-MailboxPlan | fl name,maxsendsize,maxreceivesize,isdefault
Get-Mailbox | Group-Object -Property:MailboxPlan | Select Name,Count | ft -auto
Set-MailboxPlan ExchangeOnlineEnterprise-f32821d4-90a3-4c6b-ab75-56f35adb3bfb -MaxSendSize 50MB -MaxReceiveSize 50MB
- Start the Migration
- Go to the Migration section in the Exchange Admin Center:
- Choose Migration to Exchange Online.
- Select Google Workspace (Gmail) migration.
- Validate prerequisites using the GWS Admin Account.
- Download the JSON file.
- Copy the Client ID and scopes link.
- Authorize API scopes in GWS Admin Console.
- Create a migration endpoint:
- Use the downloaded JSON file.
- Provide the GWS Admin Account details.
- Import mail users via CSV file:
Format:
- EmailAddress
- user1@contoso.com
- user2@contoso.com
- user3@contoso.com
- Set the target delivery domain as m365.contoso.com.
- Reconfigure Outlook Profiles
- Once the migration batch status shows Completed, reconfigure Outlook profiles for migrated users.
- Ensure the following DNS records are in place:
- Autodiscover: autodiscover.contoso.com pointing to Microsoft 365 (CNAME: autodiscover.outlook.com).
Notes
- Monitor migration batch progress to resolve any issues promptly.
- Ensure mail flow remains uninterrupted during the migration process.
- Verify email functionality for both migrated and non-migrated users post-migration.