Configuring System Center Virtual Machine Manager 2016
Configuring System Center Virtual Machine Manager 2016
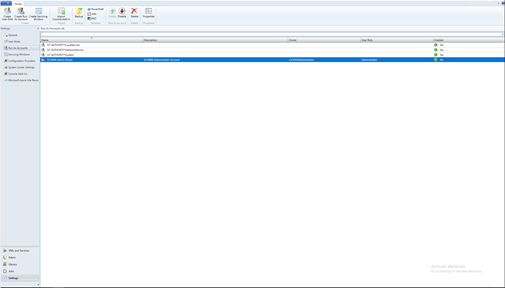
- Add DOMAIN\SCVMM-AdminAction under Settings à Run As Accounts as shown below:
Adding Hyper-V Host Servers
Step 1 Open SCVMM Console and click on “All Hosts”
Step 2 Right click on “All Hosts” and click on “Add Hyper-V Hosts and Clusters”
Step 3 Click on “Next”
Step 4 Click on “Browse”
Step 5 Click on “SCVMM Admin Action” in “Select a Run As Account”
Step 6 Select SCVMM Admin Action account and click on “OK”
Step 7 Click on “Next”
Step 8 Click on “Next”
Step 9 Select the Host Cluster and click on “Next”
Step 10 Click on “Next”
Step 11 Click on “Finish”
Step 12 Job is completed successfully Click on “Close”
Step 13 Click on “VMs and Services”
Step 14 Click on “FMCLOUD01” (Hyper-V Host) to view the propagation of the VMs.
Adding Library Server in SCVMM 2016
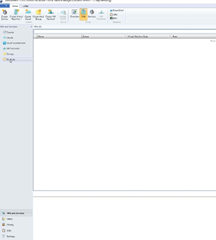
Step 1 Open SCVMM console and go to “Library” click on “Add Library Server”
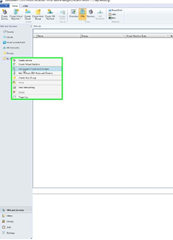
Step 2 Click in “Add Library Server”
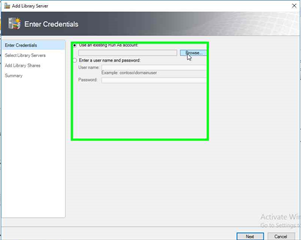
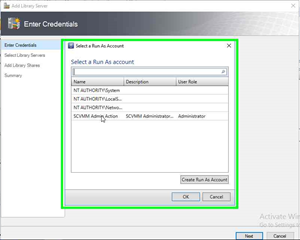
Step 3 Click on “SCVMM Admin Action” in “Select a Run As Account”
Step 4 Click on “SCVMM Admin Action” in “Select a Run As Account”
Step 5 Click on “OK” in “Select a Run As Account”
Step 6 Click on “Next”
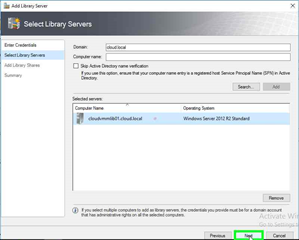
Step 7 Enter the Computer Name and click “Add”
Step 8 Click on “Next”
Step 9 Check mark as shown below and click on “Next”
Step 10 Click on “Add Library Servers”
Step 11 Click on “cloudvmmlib01.cloud.local”
Adding Storage in SCVMM 2016
Step 1 Run SCVMM console and go to Fabric then Storage then Classifications and Pools
Step 2 Right click and click on “Create Storage Classification”
Step 3 Enter the Name and click on “Add”
Step 4 Click on “Providers”
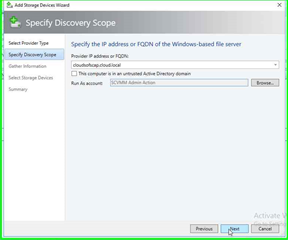
Step 5 Right click and click on “Add Storage Devices”
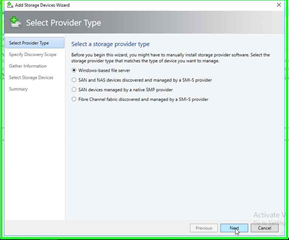
Step 6 Click on “Next”
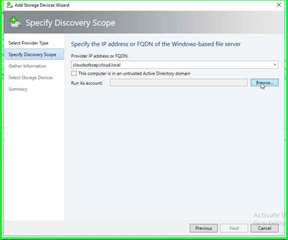
Step 7 Click on “Browse” to add Run As Account.
Step 8 Select SCVMM Admin Action and Click on “OK”
Step 9 Click on “Next”
Step 10 Click on “Next”
Step 11 Check mark on “Storage Device” Select “Classification” and click on “Next”
Step 12 Click on “Finish”
Step 13 Click on “Jobs” to check the progress on “Sets Storage Provider”
Step 14 Click on “Providers” and click on “cloudsofscap.cloud.local”
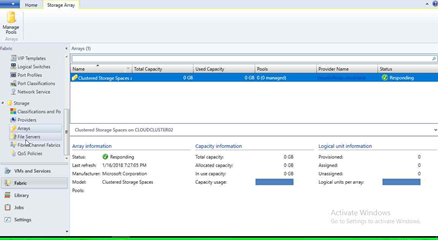
Step 15 Click on “Arrays” to view “Clustered Storage Spaces”
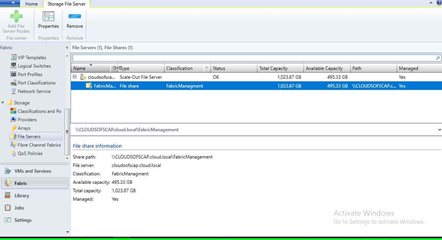
Step 16 Click on “File Servers”

